GelDoc system
The Gel Doc system in The james & Lillian Martin Centre is A BioRad ChemiDoc XRS+ system with Image Lab v2.0 software. See guide, below, for details of its use.
This instrument has both a uv transilluminator and an XcitaBlue conversion Screen, enabling one to view DNA gels stained with SybrSafe.
The attached Laptop will run the machine through Image Lab software, and this includes an automated procedure for identifying lanes and the size of bands. For your convenience, I have added the BIO Line HyperLadder 1kb to the settings, and it has Biorad markers built in. If your ladder is not already present, it is very easy to create it.
The log-in is the usual password used for all the other communal lab PCs and the laptop is not yet connected to the internet! Please create a folder on the desktop for your images and back them up yourself!! Happy imaging
ELISPOT Reader
We look after an ELISPOT classic reader that is available for general Dunn School use in the Ground Floor EPA Research building instrument room 311.10.27. This instrument enables you to rapidly image a 96 or 384 well plate (monochrome, visible light), and the built in software automatically counts the number of “dots” in each well. Classically, this is used to enumerate the number of cells in a well that secrete a particular cytokine (e.g. gamma interferon), but can be used for any other application where such quantification is needed. We use it to count foci of virus-infected cells, revealed by immunostaining.

To read more about the instrument, please visit ELISPOT READER SYSTEM – Autoimmun Diagnostika GmbH – Homepage: Reader systems
If you think you might like to use the machine, please contact me .
| Connor Sykes Account Manager +44 (0)7376 326201 | +44 (0)1235 431390 chenderson-sykes@oxfordbiosystems.com Oxford BioSystems www.oxfordbiosystems.com |
Adding the lab printer to Windows 10 or 11
1. Before connecting to the VPN go to support hp: “https://support.hp.com/us-en/document/ish_4839960-4840167-16”
2. Select download drivers and software from your country/region
3. Select printer and add the printer model “LaserJet Pro M404”
4. Download the hp printer pack from the following option: “HP LaserJet Pro M404/M405dw Printer Full Software Solution”
5. Install the HP printer drivers pack
6. Turn on your PC and ensure it is connected either to the departmental Ethernet or is running the Cisco AnyConnect VPN client over wireless.
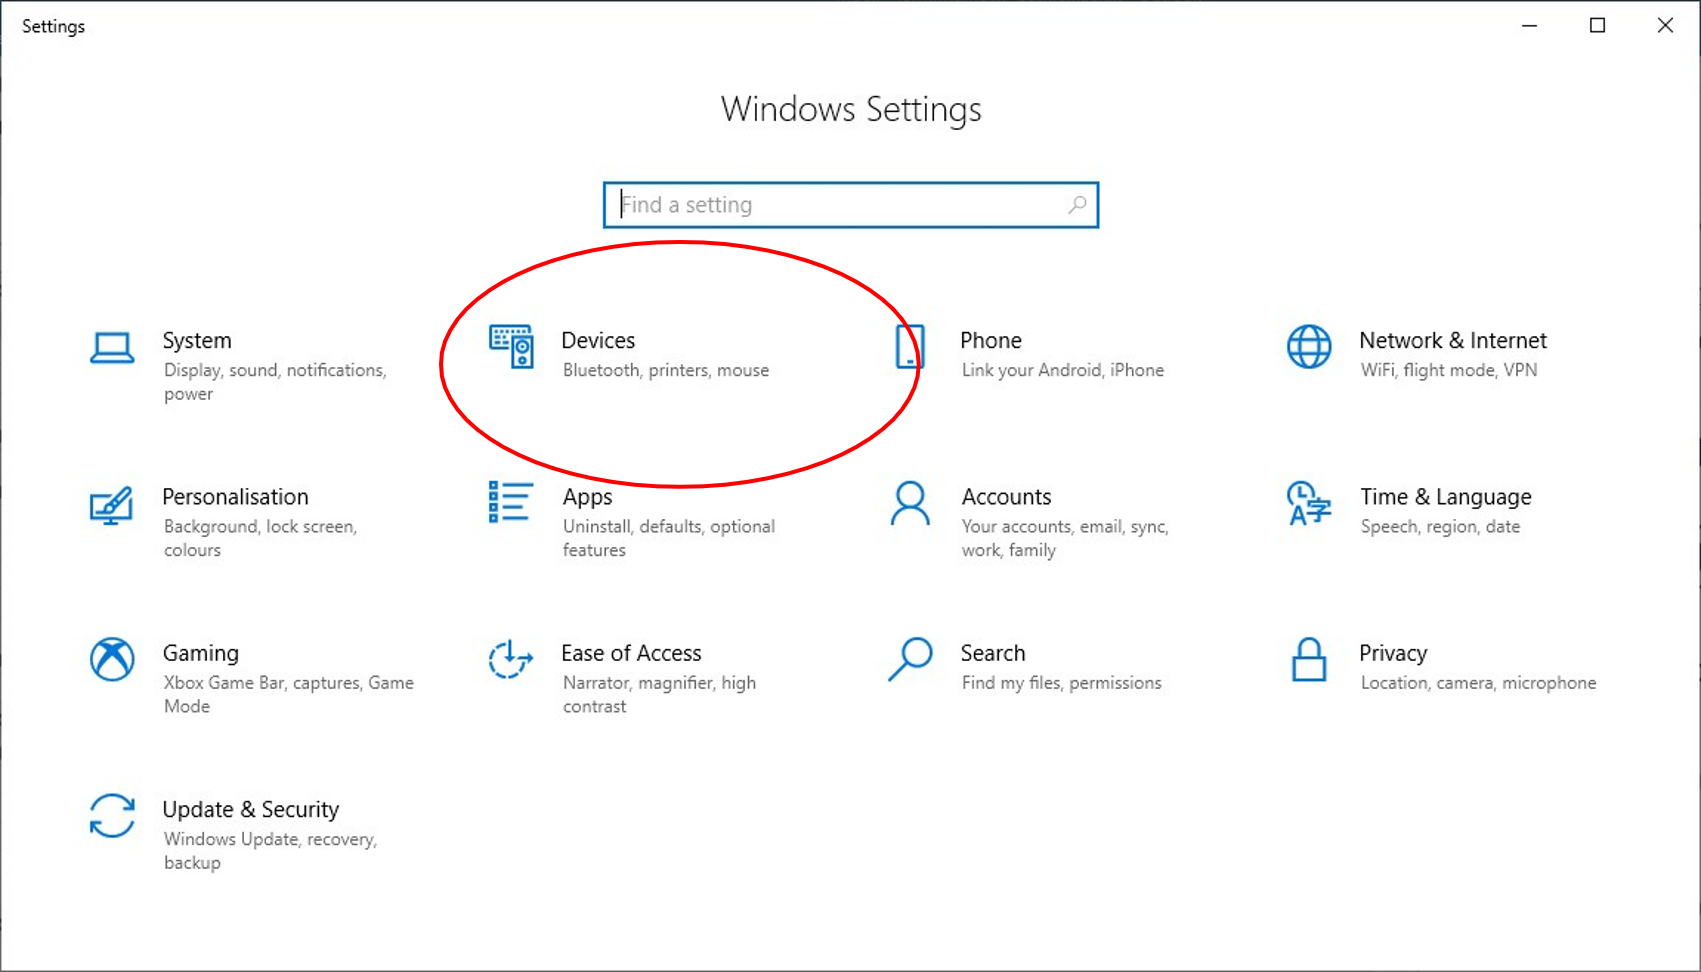
7. W10: Click on the Start menu and then settings. Then Devices
8. 11. Click on the bottom right of the Task bar, then on the settings symbol (cog) in this pop-up
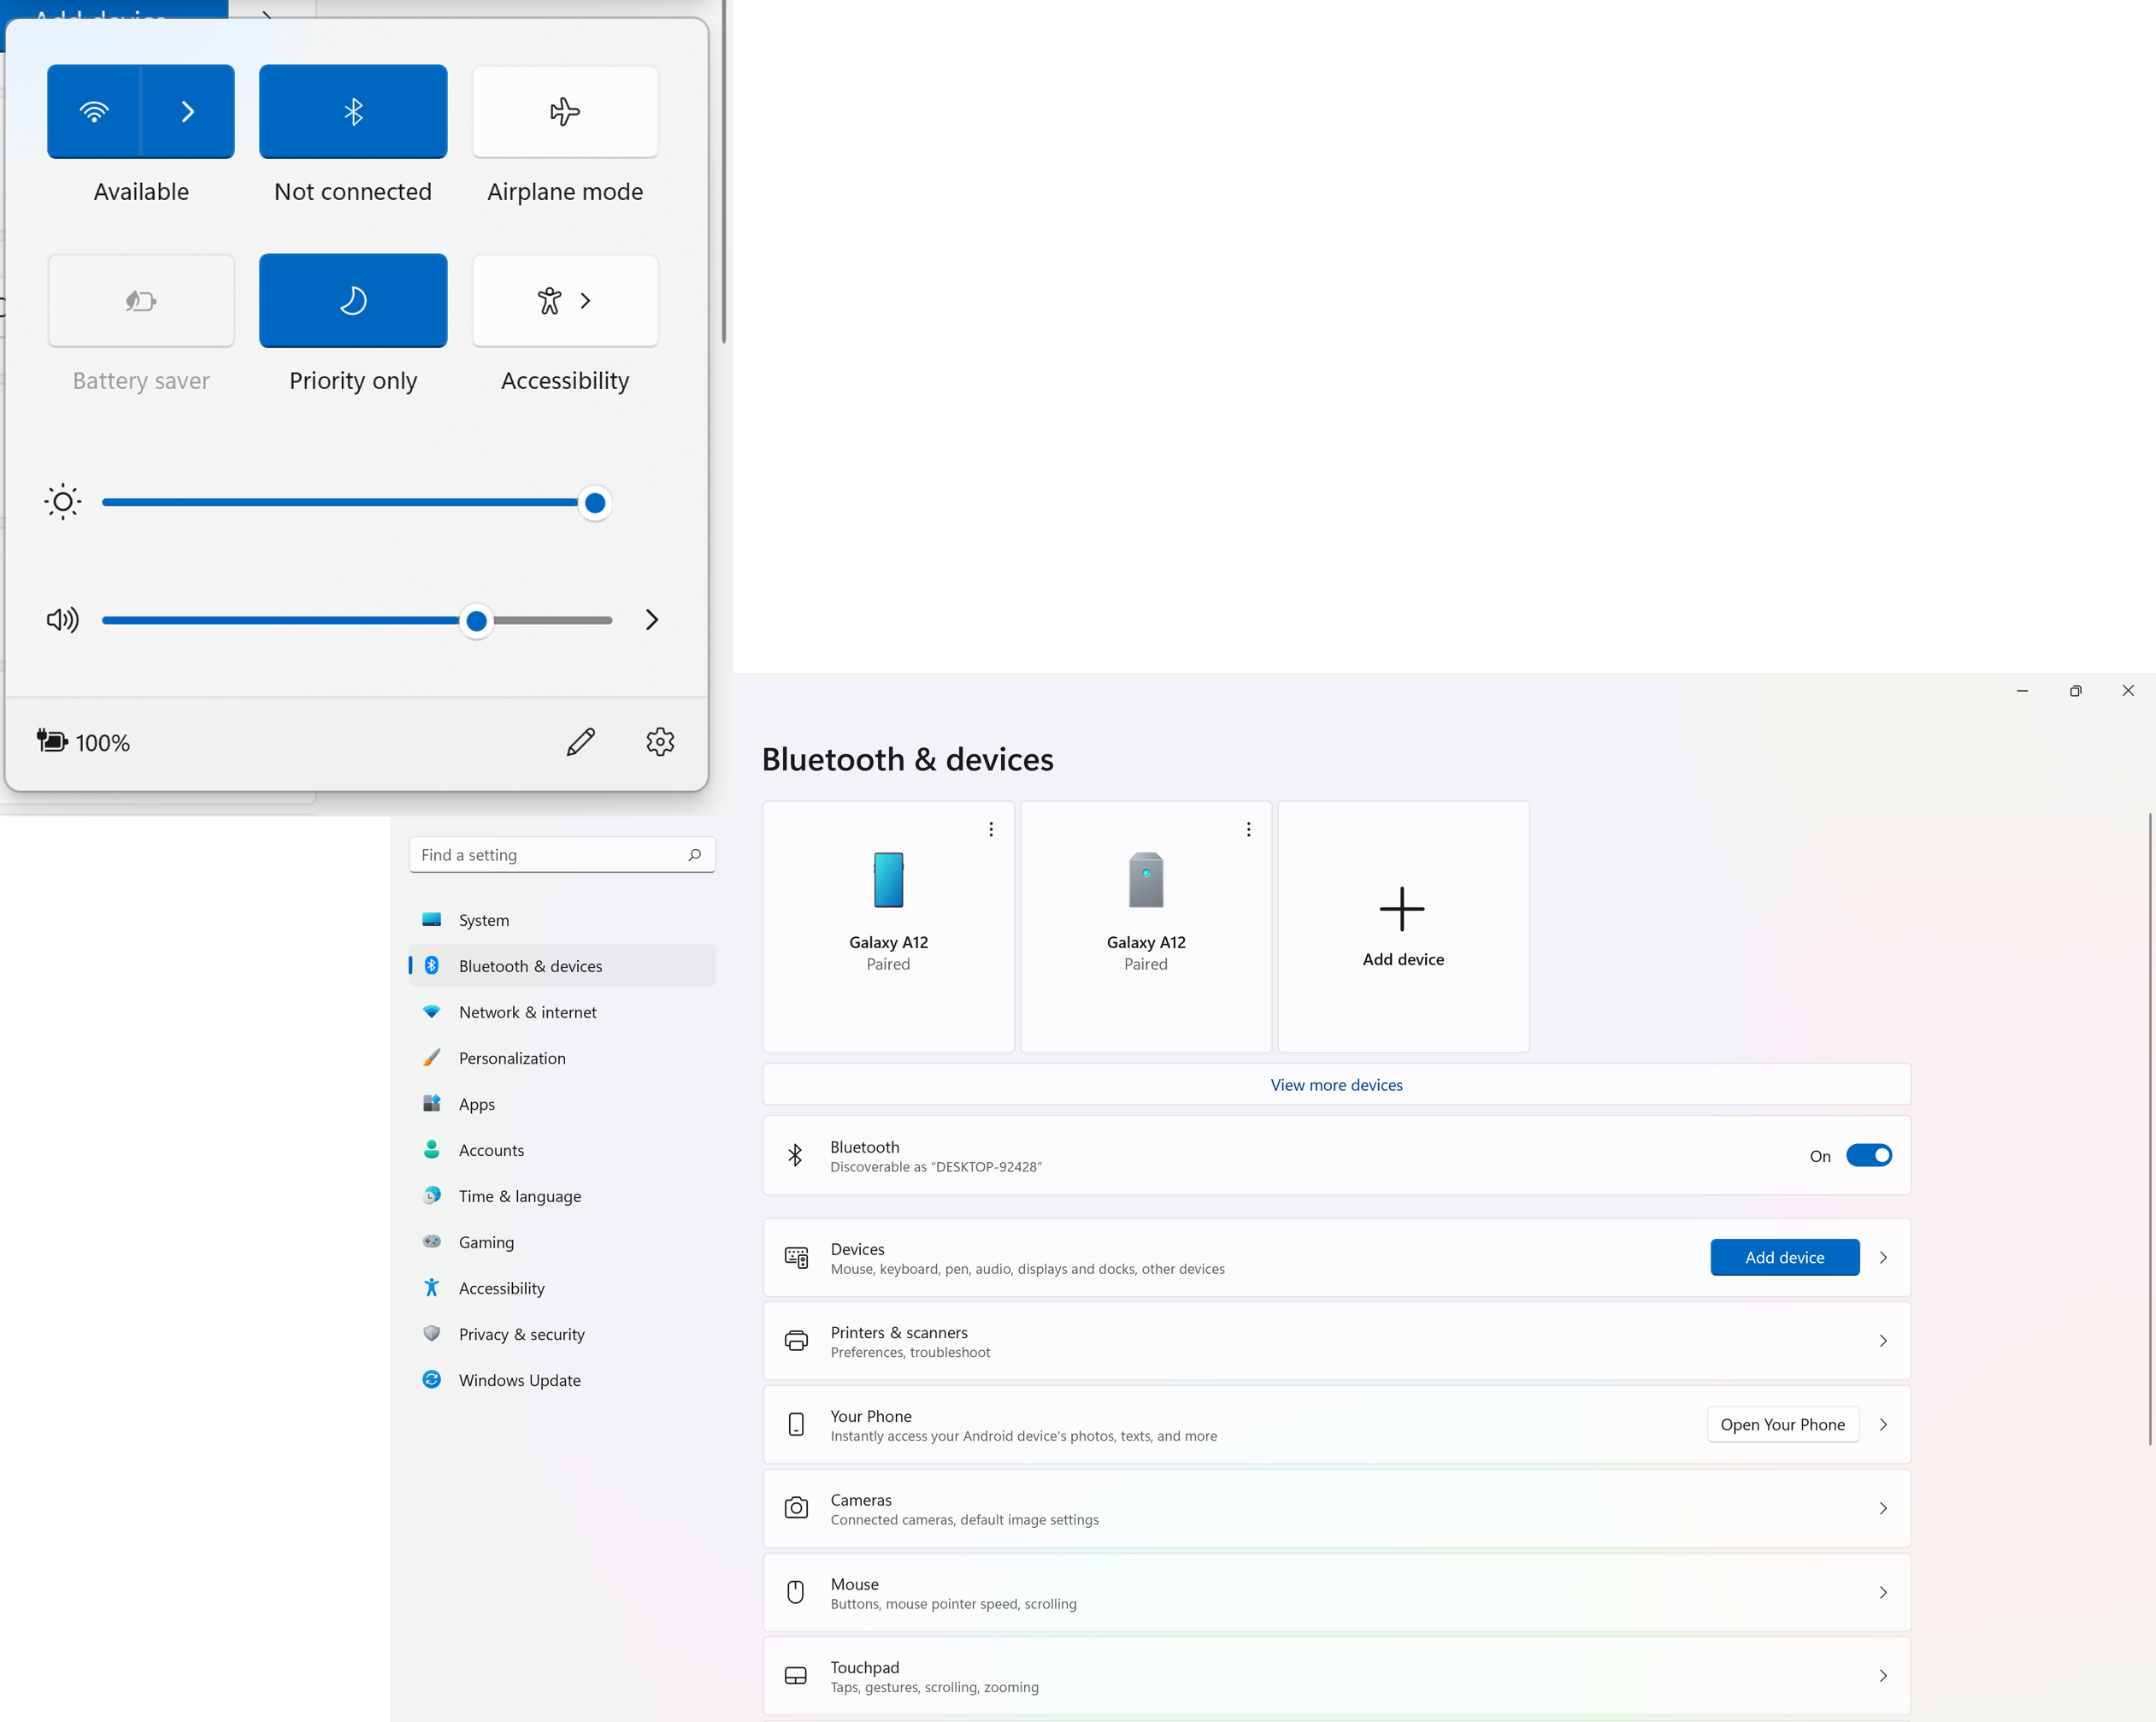
9. Click Printers and Scanners on the left-hand side of the window (W10) or the main menu (W11) and then click “Add a printer or scanner” button in the middle pane (W10) or Add device button at the top right (W11). Wait for the scan to complete and then press “The printer that I want isn’t listed” (W10) or the Add manually (W11) option that appears at the bottom of the printer list.
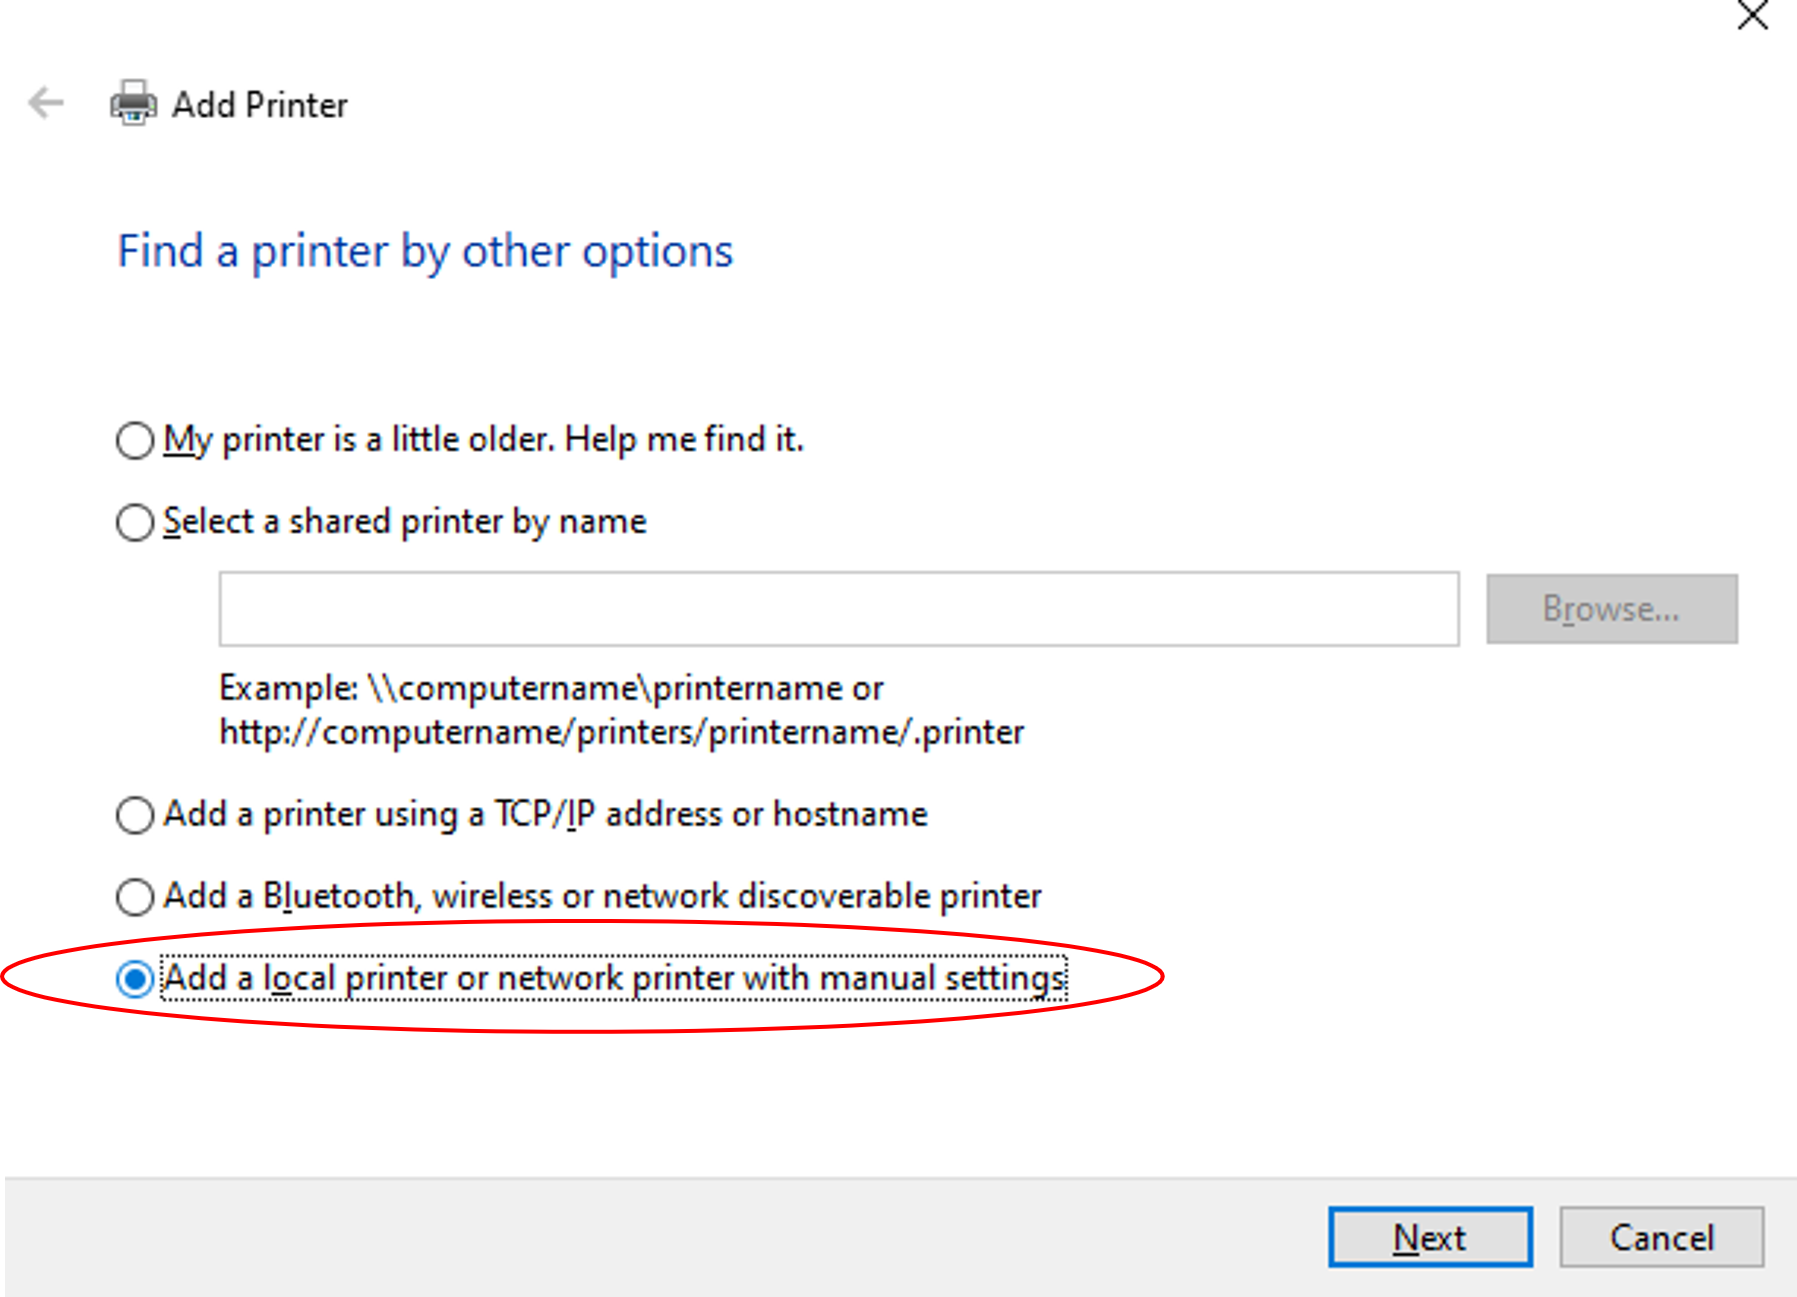
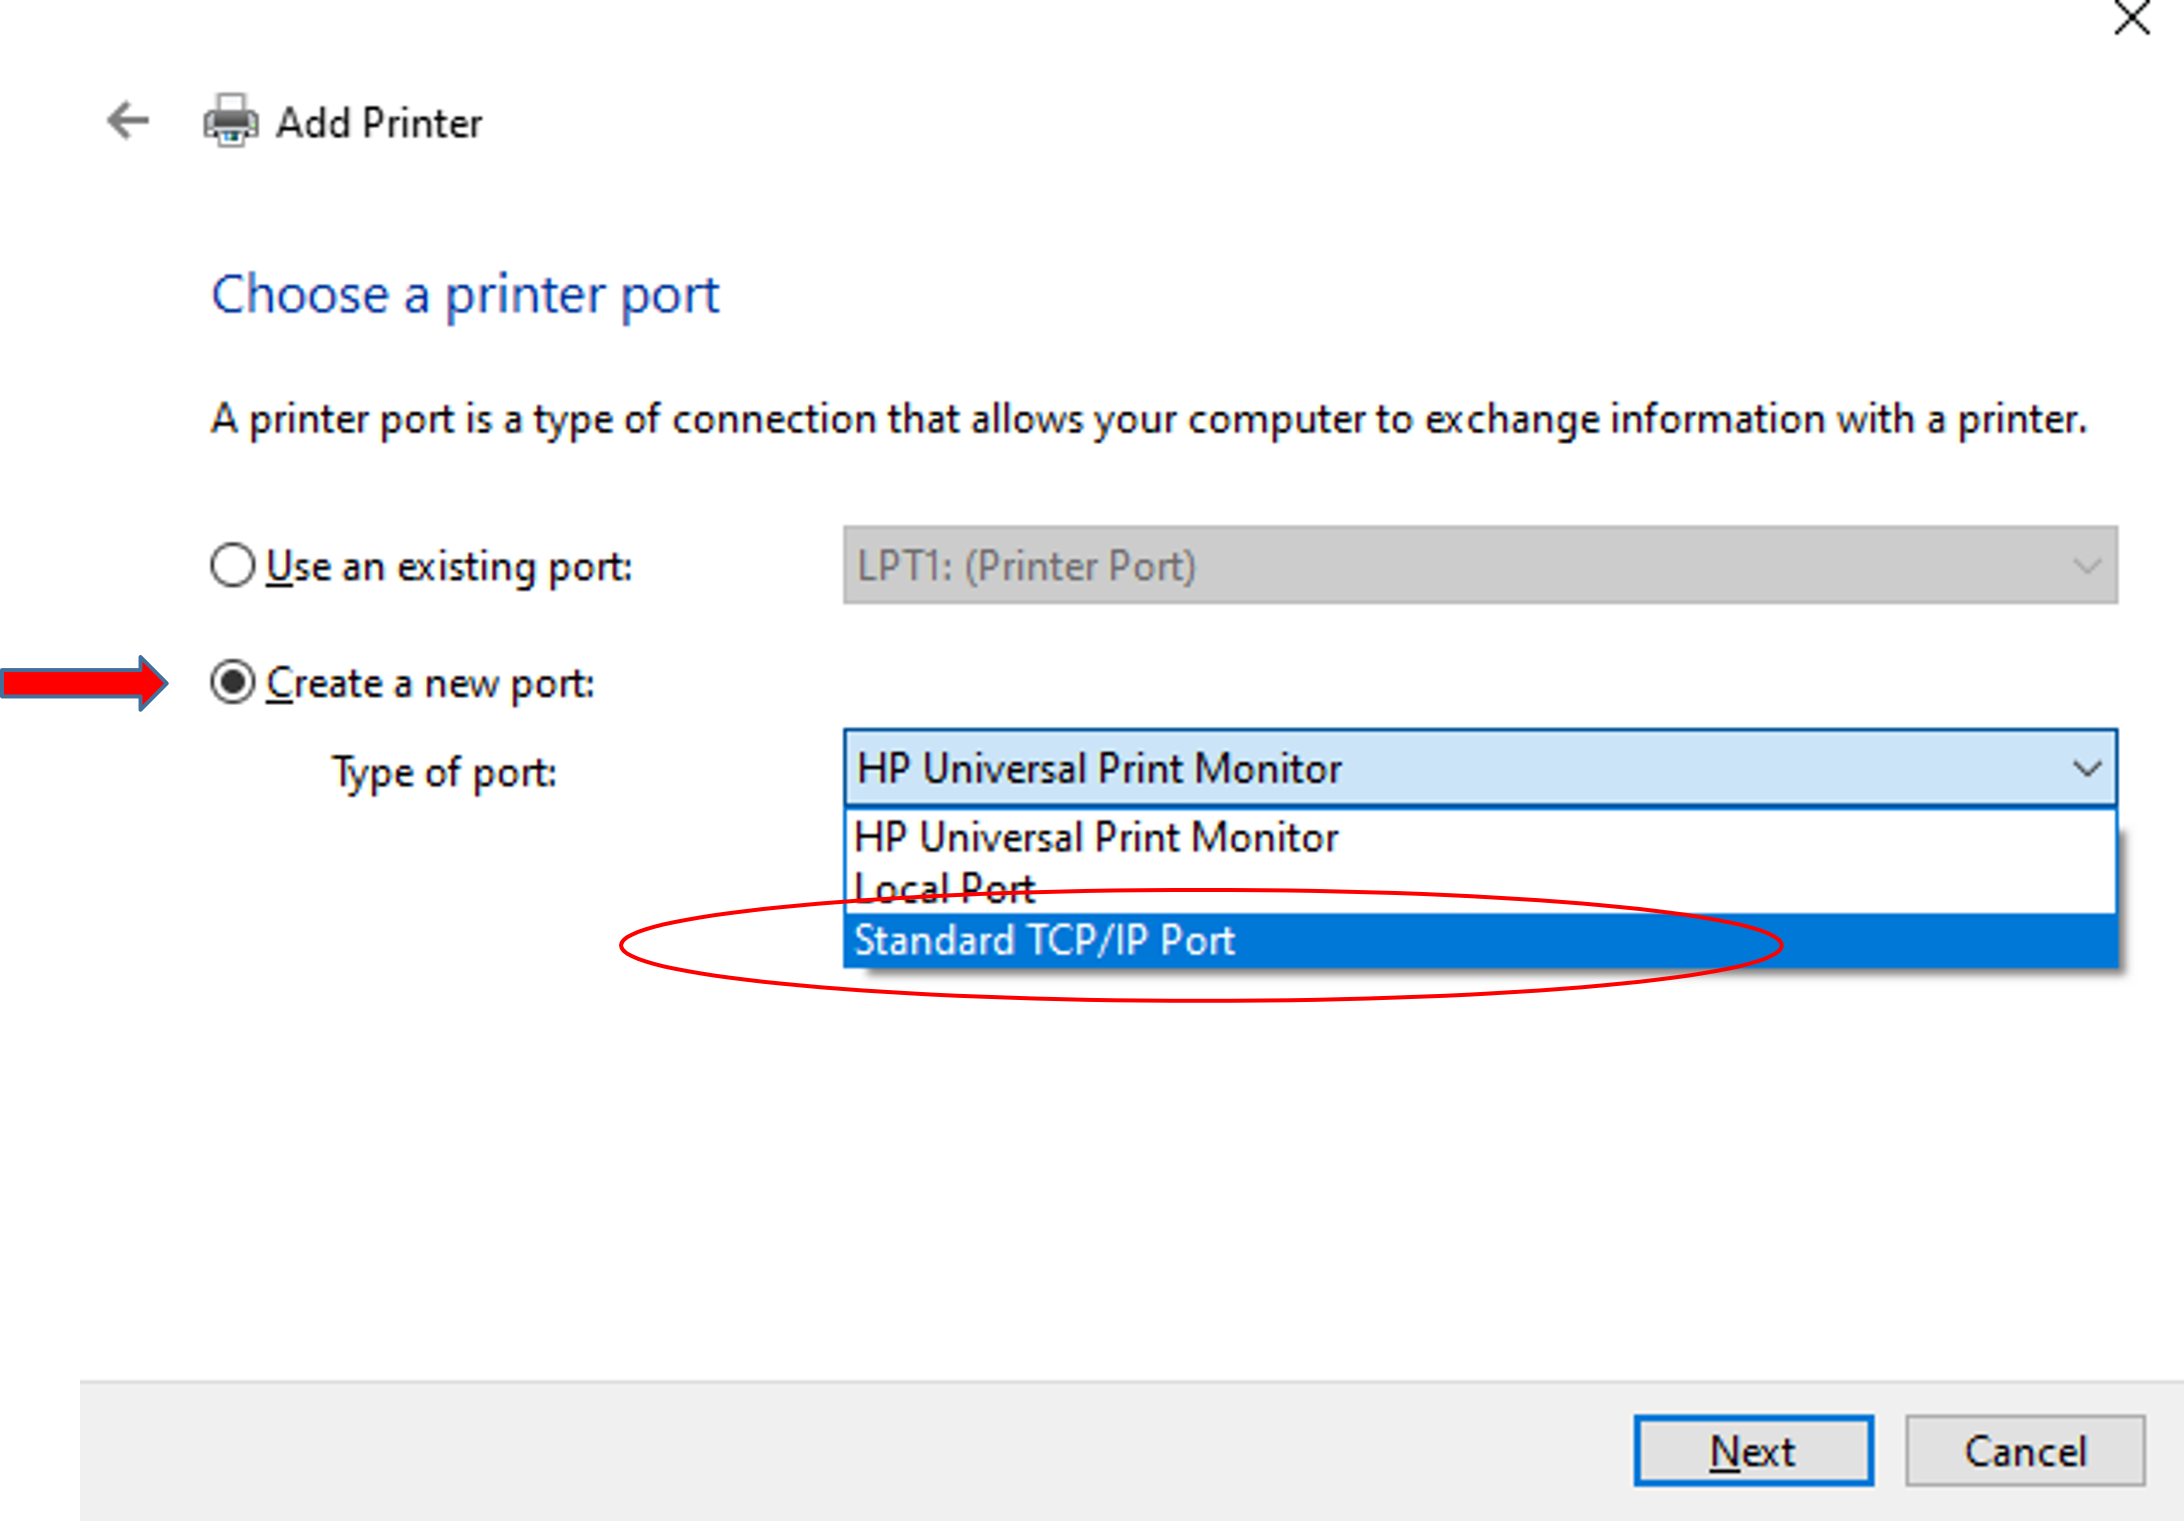
10. In the Add Printer menu, click on Add a local printer with manual settings option and click next
11. Select “Create a new port” and change the type of port to Standard TCP/IP port. Click next.
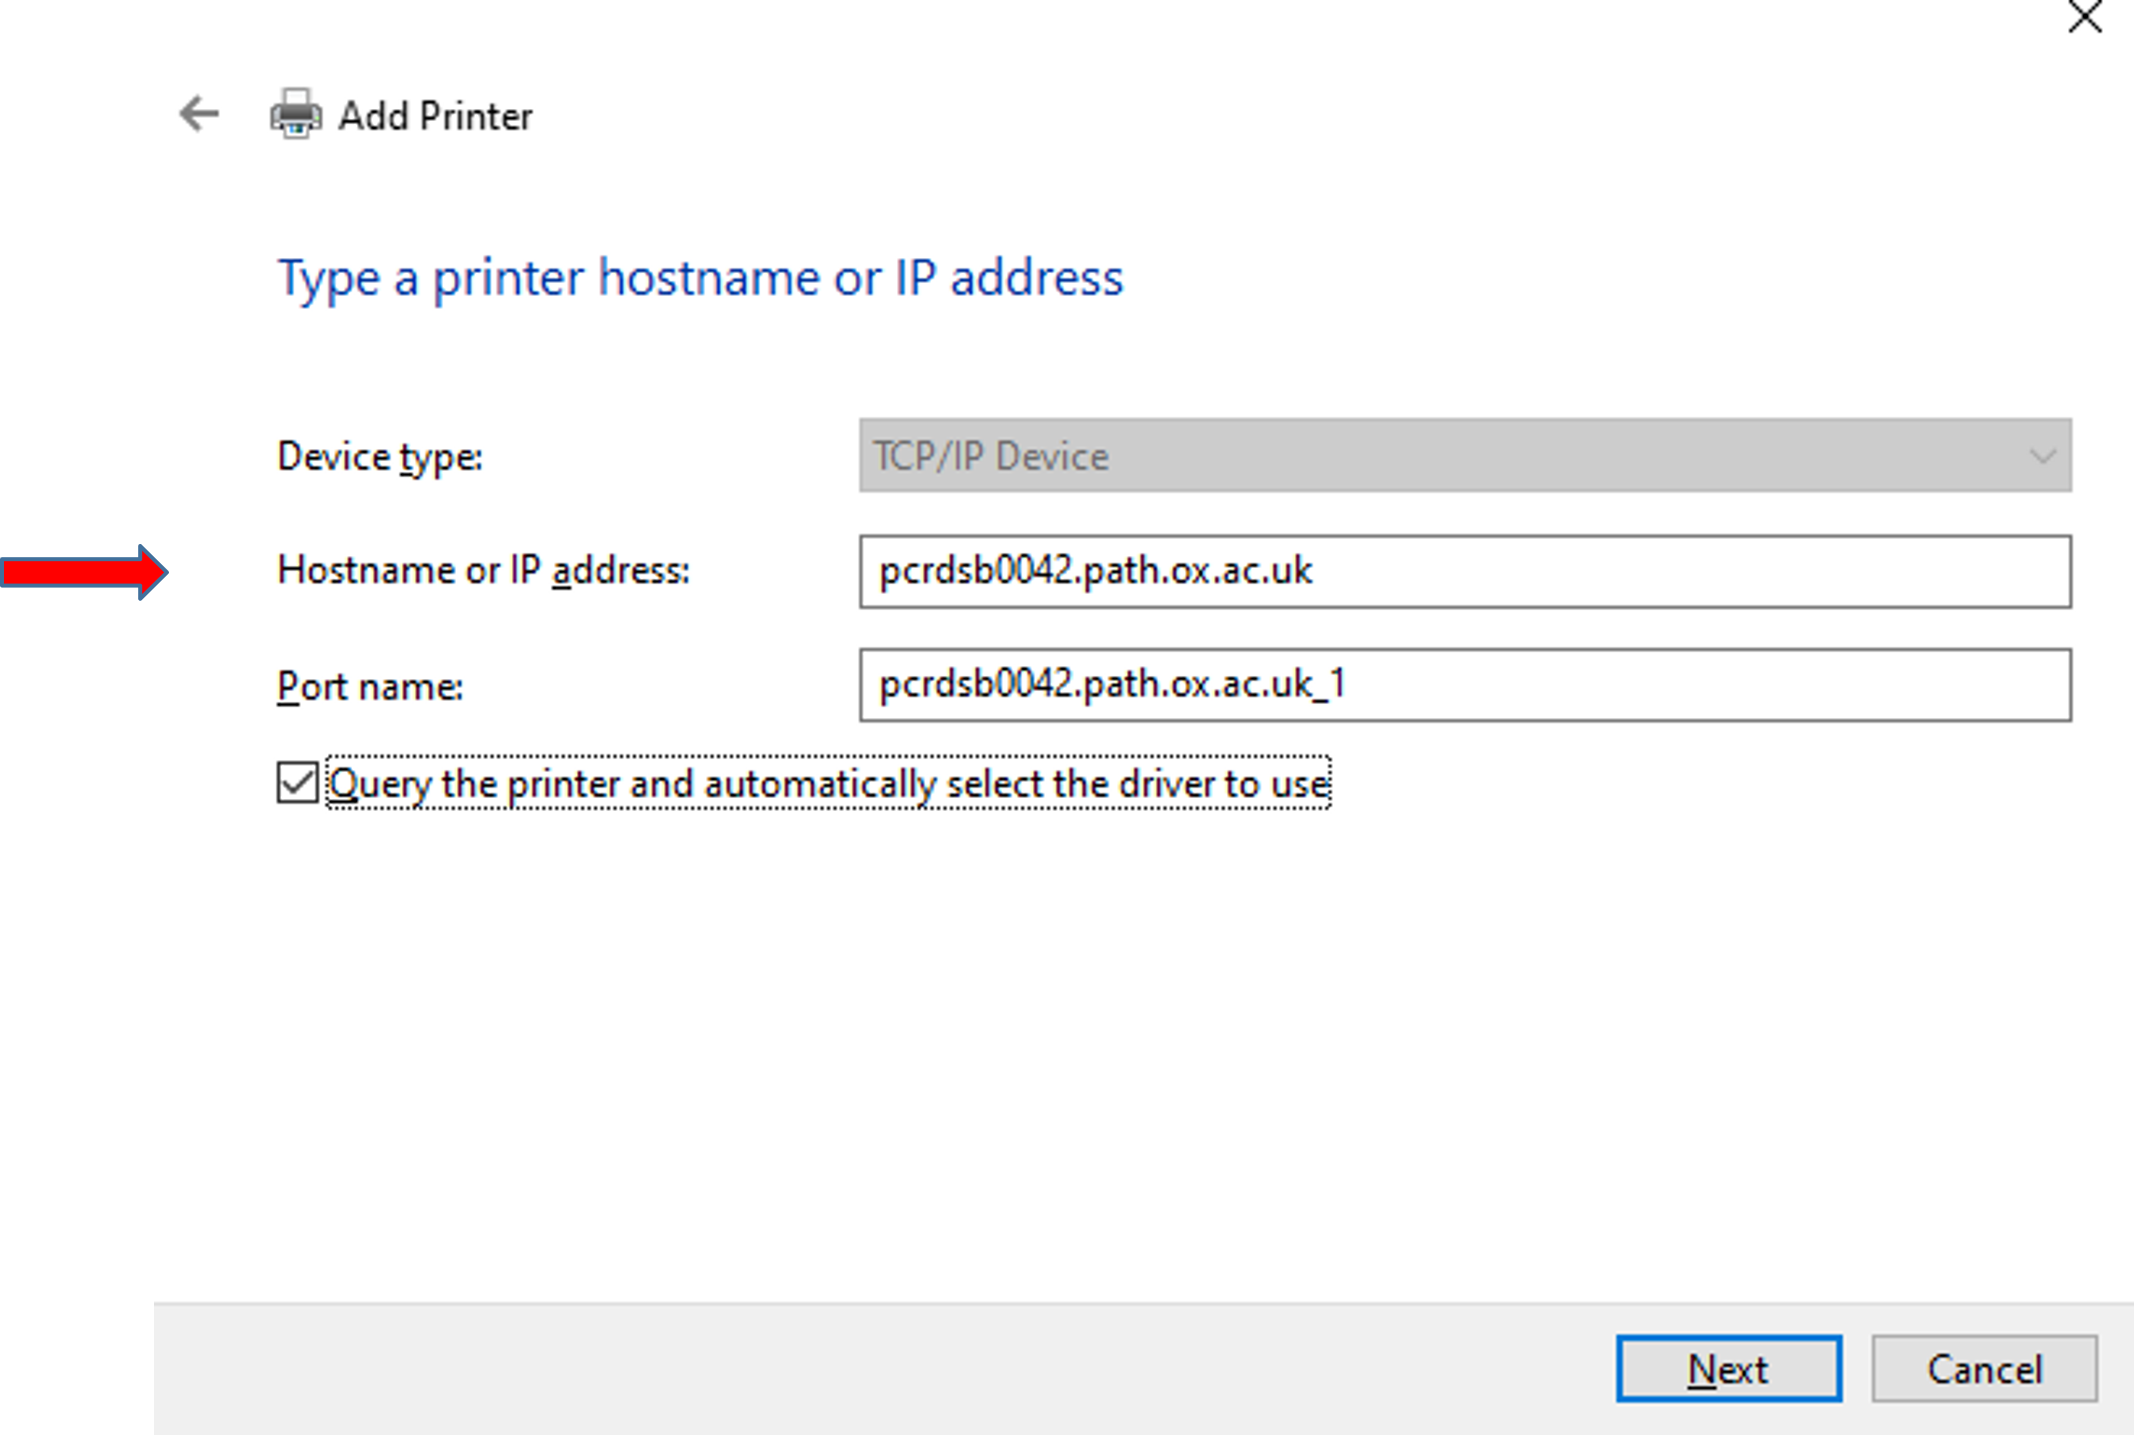
12. Type or paste the following into the appropriate boxes
Hostname: pbwepa2006.path.ox.ac.uk
Port name: pbwepa2006.path.ox.ac.uk_1
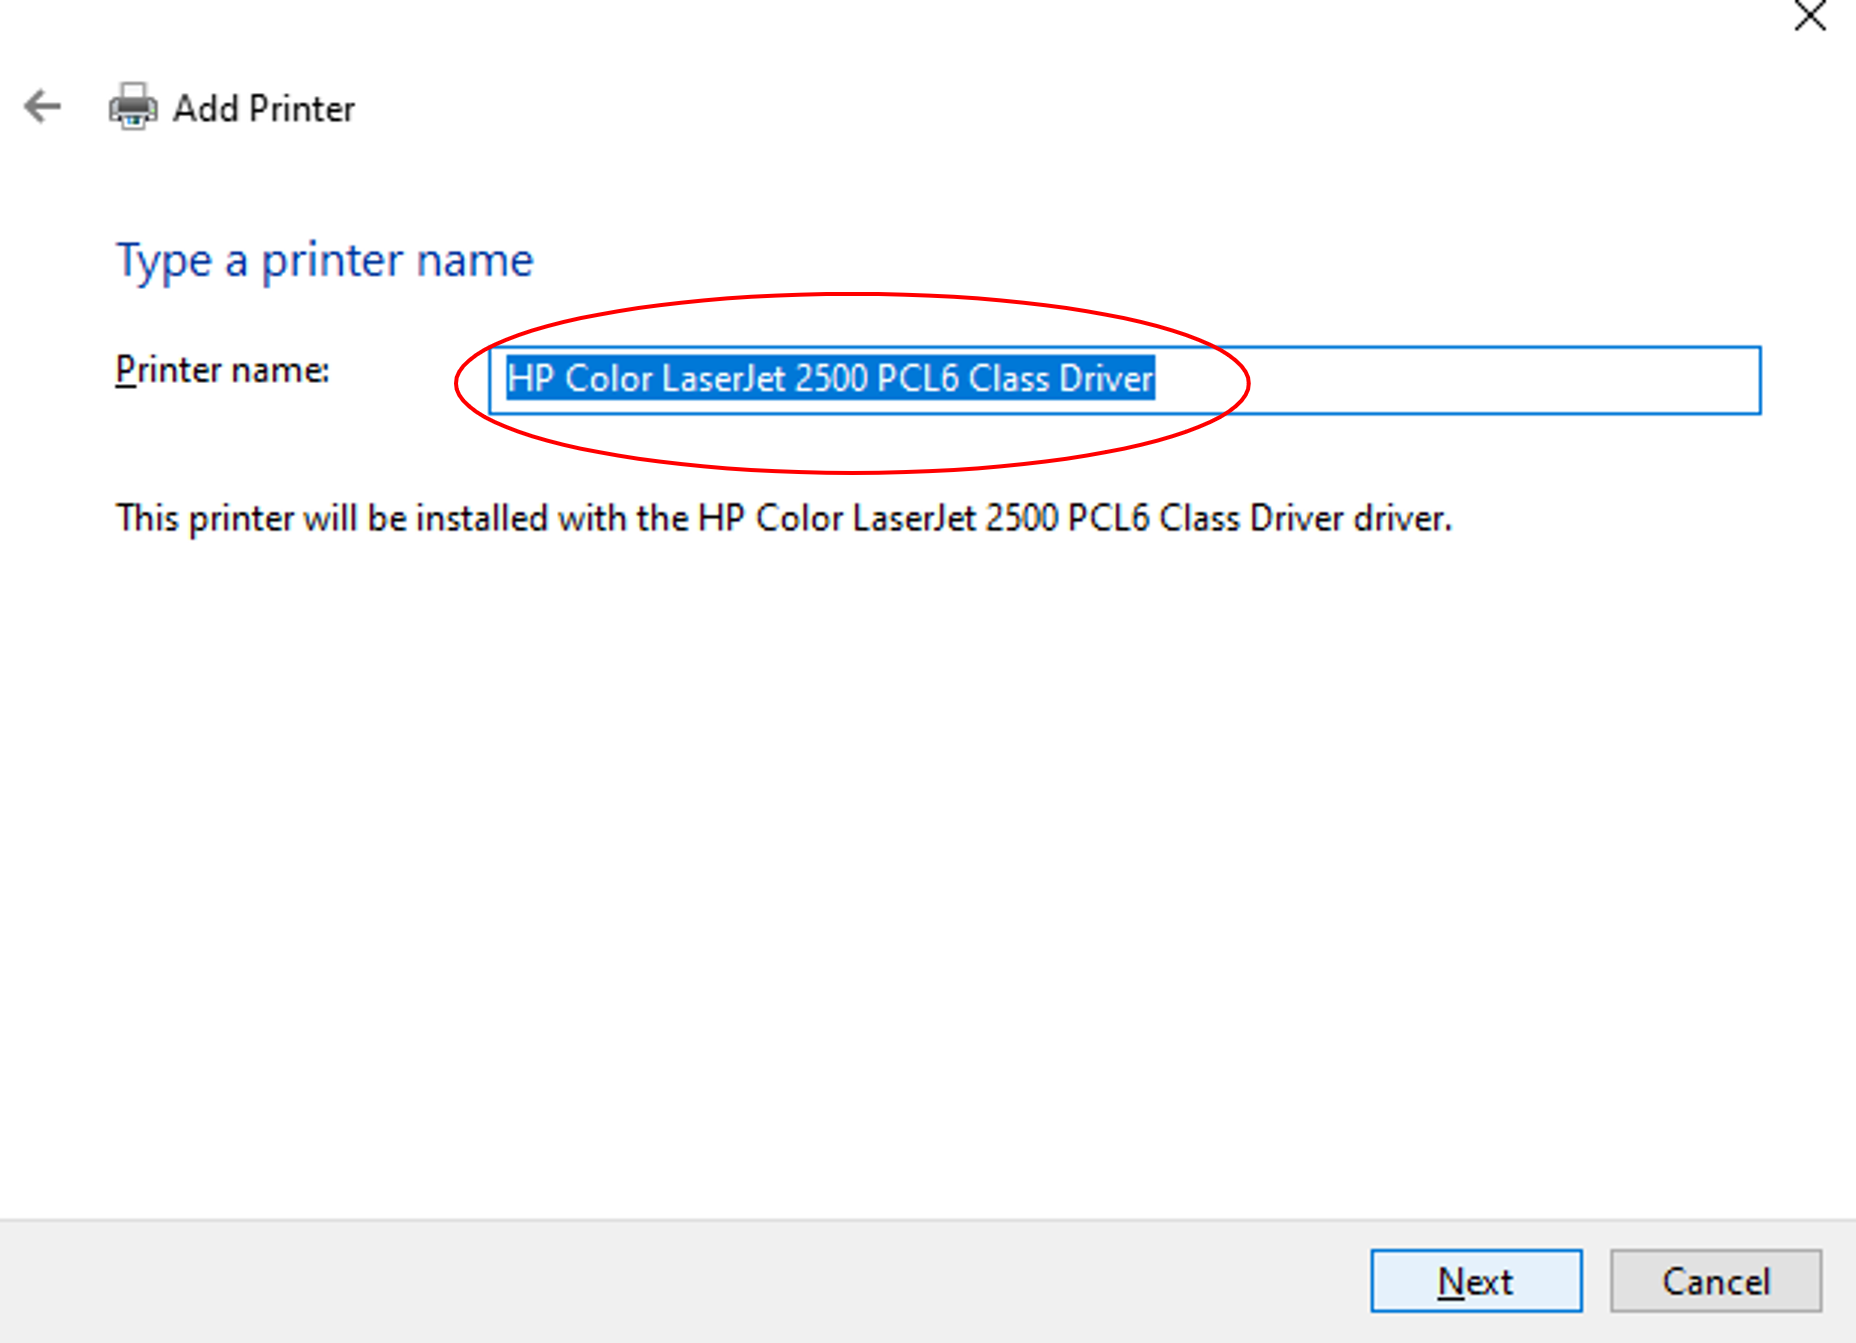
13. Give the printer a local name (I call it J&LMC printer)
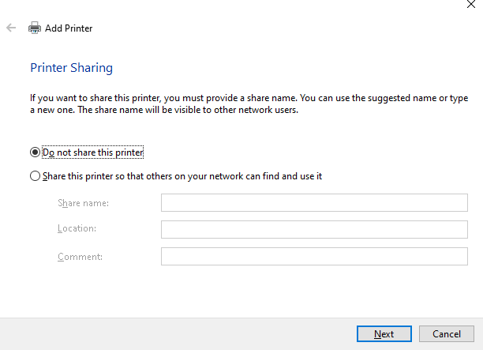
14. Don’t share the printer.
15. Finally… You should be good to go and the printer as named previously should appear in your printers listing. You can print a test page